
It is helpful to our community if we keep our profile information up to date. This section of the guide will give hints on how to update ones profile. First select the pull down menu next to your Screen Name in the upper right corner and select the 'Profile' menu item asm shown in the following screen shot:
(Note: Click on any image to make larger for easier viewing.)

As a first step, let's add a profile picture. The best pictures for a profile picture for the IPS community software is a square. The closer to a square the better. Find the picture on your computer's desktop and then select the profile image icon as shown in the yellow circle below:

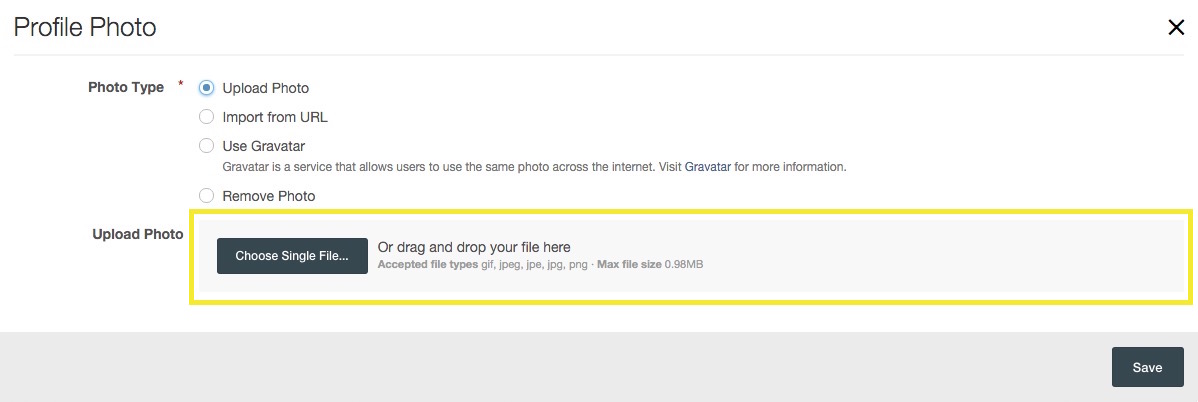
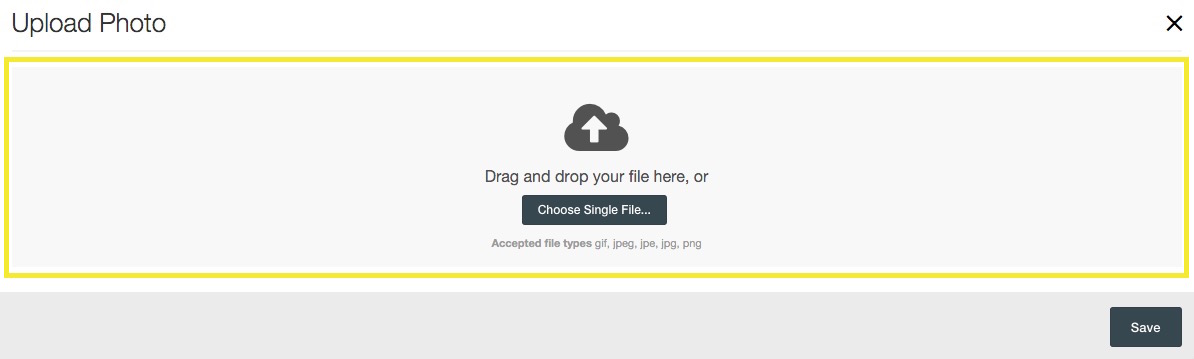
Then select upload an image:

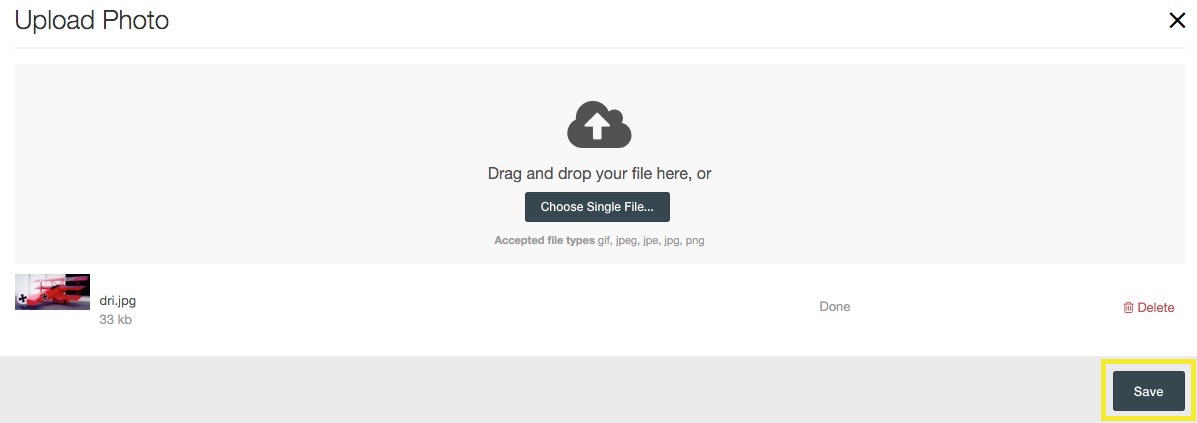
Then drag your photo/image on the shaded area that say 'drag and drop your file here.' It's outline in yellow below. If you drag a photo to this location and let go of it on top of the box it will automatically be uploaded. If you don't want to drag and drop, you can try the 'Choose Single File ...' box, but we strongly recommend getting used to the drag and drop method. The IPS software relies on it in many locations.
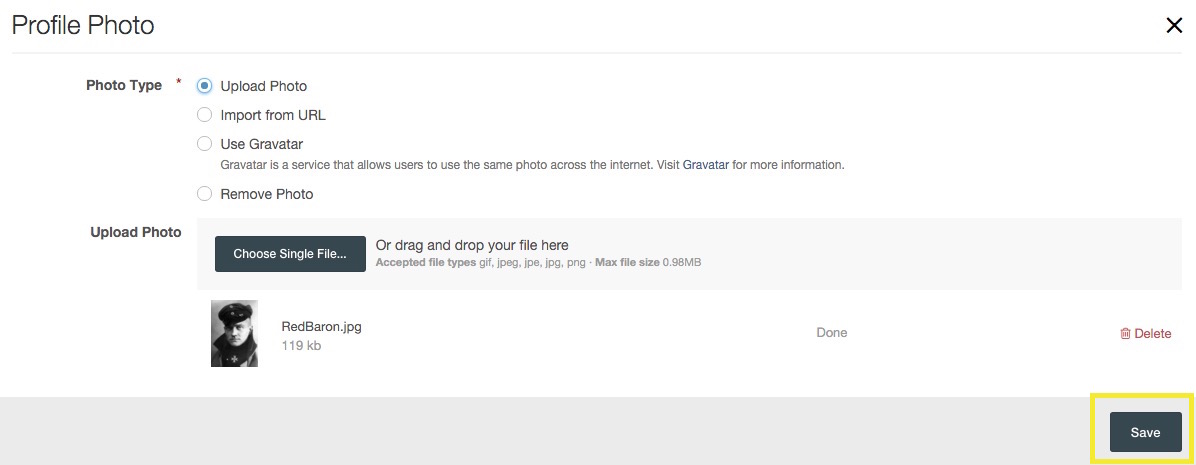
Once you drag and drop the image will upload and look like the picture below. Now you select the save box:
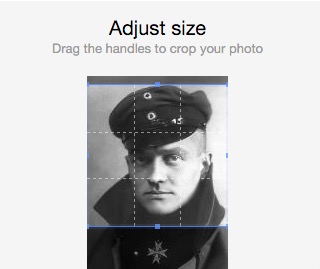
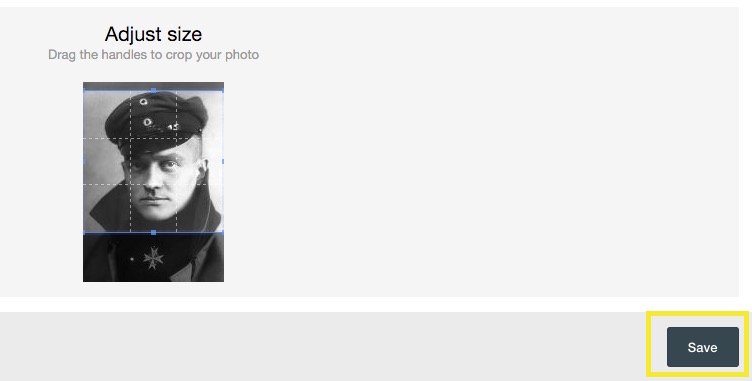
Then you will be asked to pick the image view pane on the image/photo you uploaded. The little blue dots can be dragged to the location you desire:
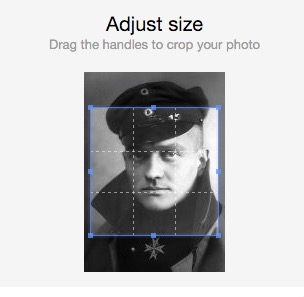
Here is the view pane we selected for this demo:
Once you get the profile view you want, just select the 'Save' box in the lower right:
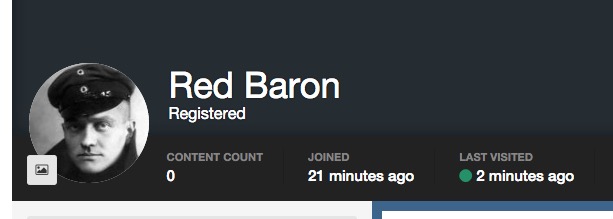
Voilà! Now you have sharp looking profile image:
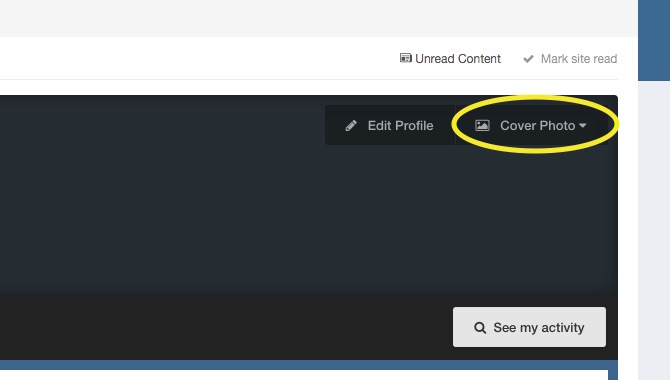
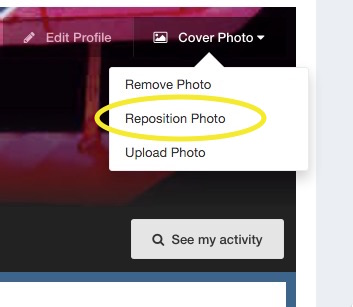
Let's now add a profile cover photo by selecting the 'Cover Photo' pull down link on the top right of the profile page:
You will be presented with another opportunity to drag and drop a photo from you desktop. The best images are ones that are wide and narrow. We recommend 1000 pixels wide or more, if you can find it, with wide narrow image that like somewhere in the vertical positioning of the photo. You will see why in a second.
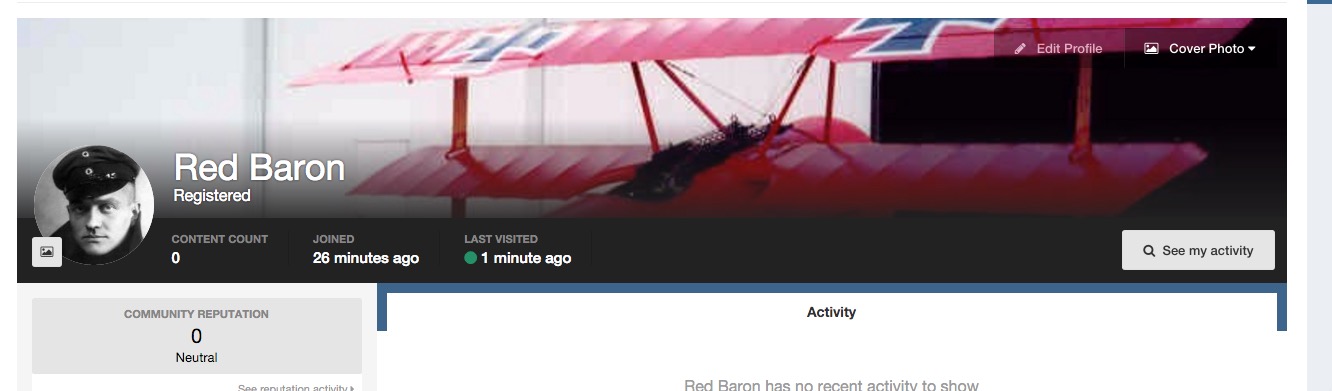
Here I dragged and dropped an image of the Fokker Tri-Plane. You'll see I will need to reposition it .... But for now, we hit save.
The image is close to what I want, but I want to adjust it a bit. To adjust the image I select the 'Cover Photo' pull down menu:
After repositioning the cover photo by dragging it into the view plane, select save. You end up with a pretty nice photo:
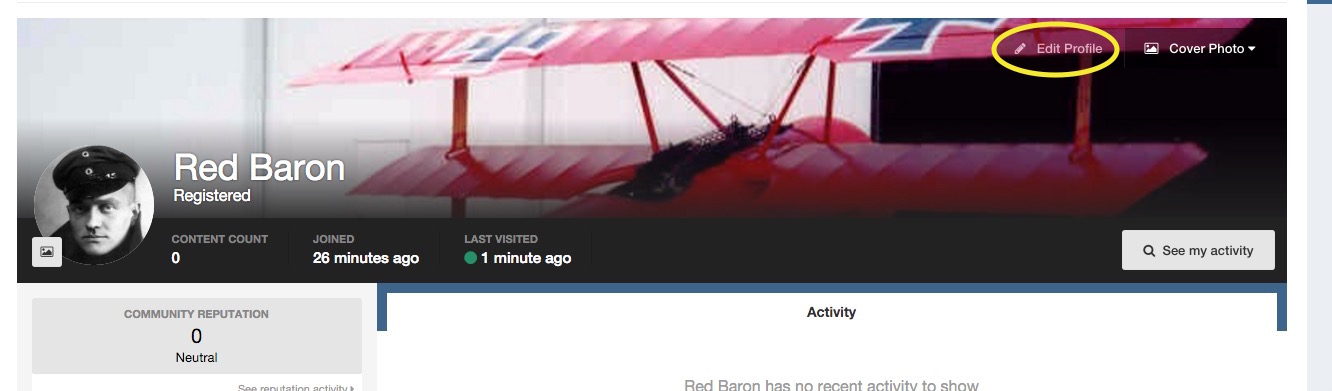
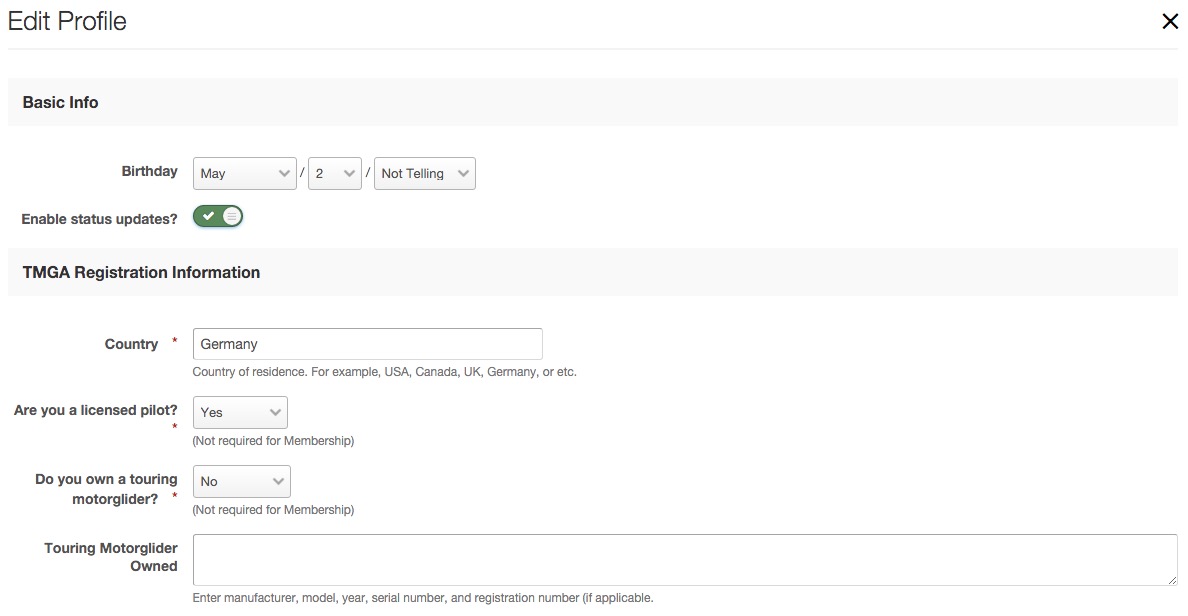
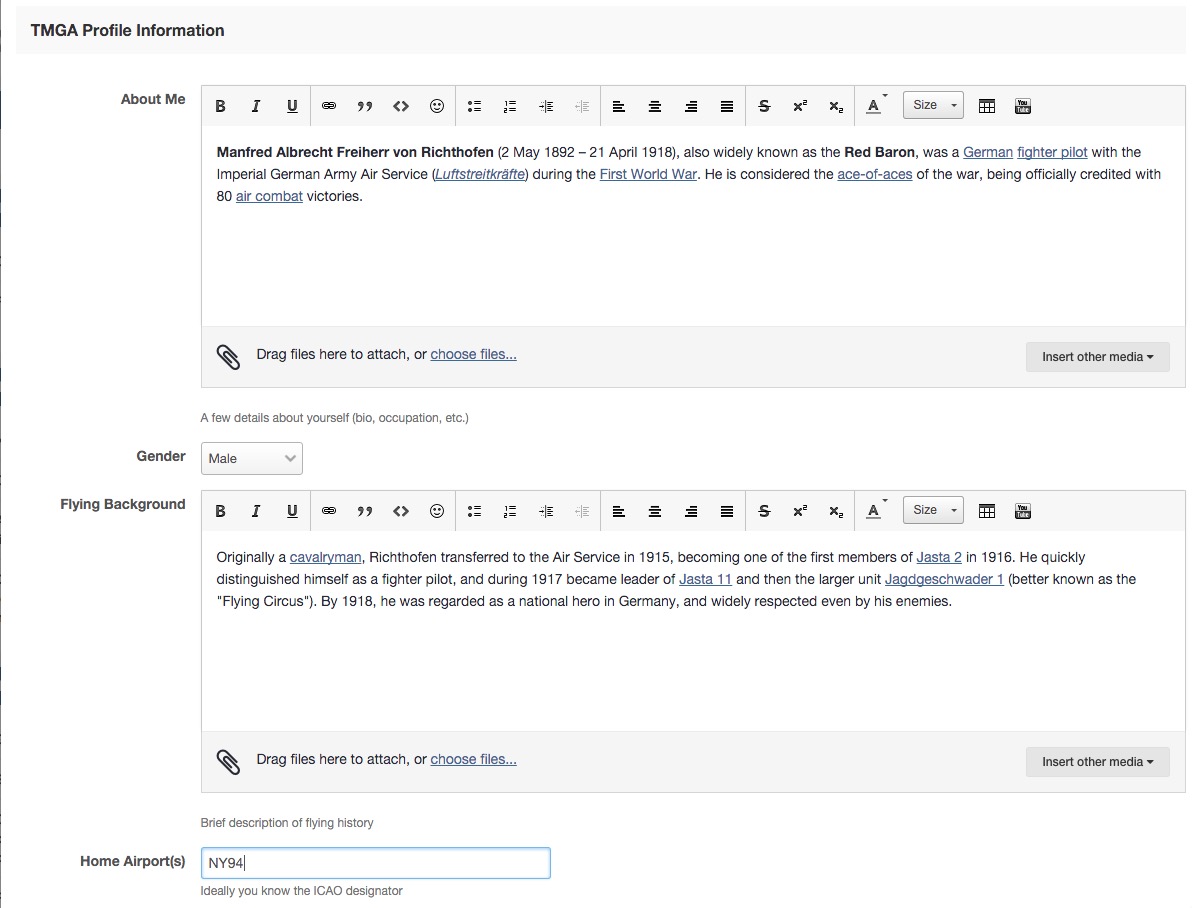
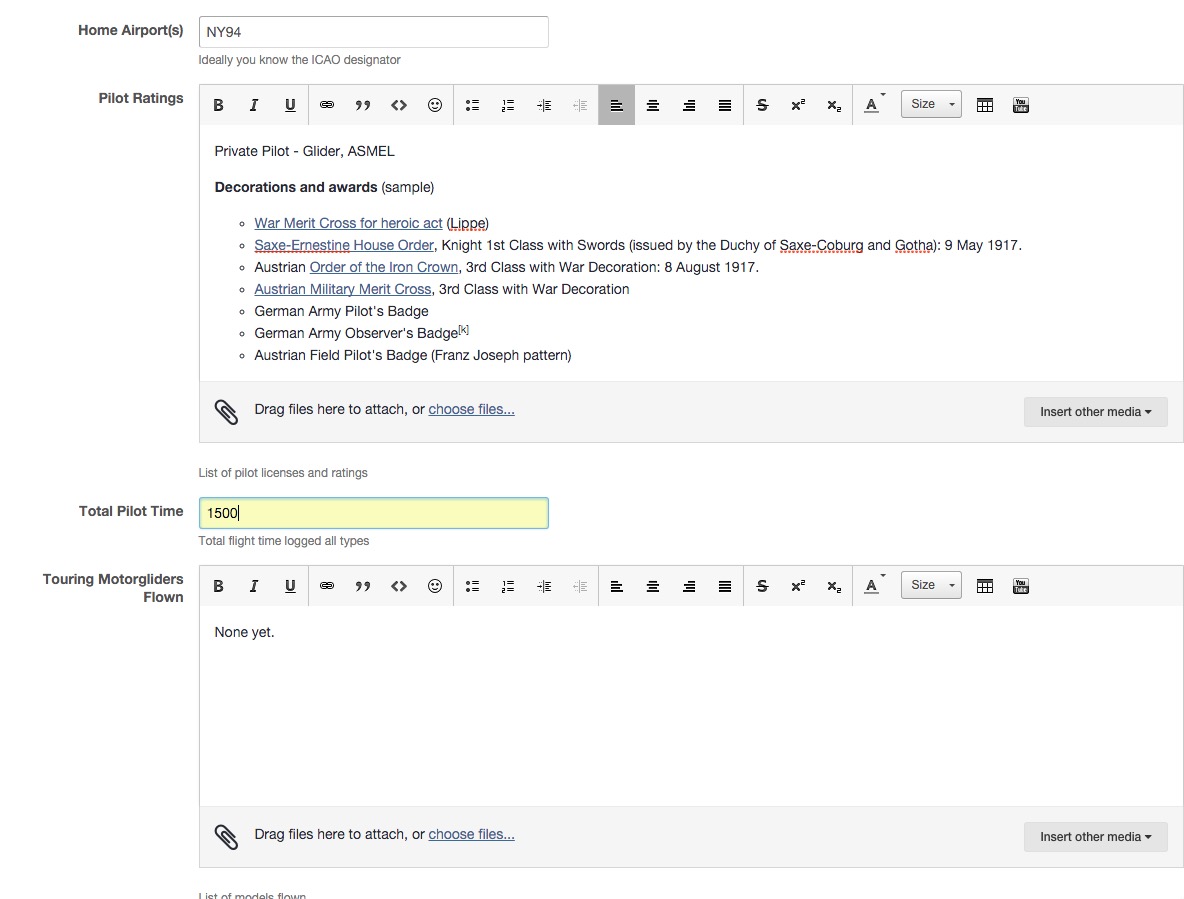
Now let's enter the profile data. Select the 'Edit Profile' link in the upper right:
Now just fill in the following screens in the way you would like to share with your colleagues on this website. Notice that you can add pictures and files as you'd like in the edit boxes. Here are some sample responses for the Red Baron:
After saving you end up with a nice profile. Note the left sidebar has summaries of information and everything that was input with edit box has a tab going across horizontally underneath the cover photo.

Let us know via the Help function of you have any questions or suggestions.
Edited by Steve Sliwa
Recommended Comments
There are no comments to display.
Join the conversation
You can post now and register later. If you have an account, sign in now to post with your account.