All Activity
- Yesterday
-
 Dana Vinson joined the community
 - Earlier
-
 Jeff Gooding joined the community
 -
My Ximango AMT 100 is 2850 hours. F-CHXF n°32 There is a life limit at 3000h. There is no authorized workshops (by AEROMOT ) in France. I have try to contact Aeromot Brazil, but no answer from them. Any solution ? Fanch LFFO Motorglider Service Life The motorglider service life corresponds to 3,000 flight hours. The service life can be progressevely extended to 4,000, 5,000 and 6,000 flight hours if the scheduled inspections described on BS100-10-021 are performed at authorized workshops. In case you need to extend service life even more, previous authorization must be obtained from the aeronautical certification authority.
-
 fanch joined the community
 -
Buyer Deposits and Certification Uncertainty Raise Concerns for Prospective U.S. Owners of the Phoenix U-15 Motorglider Growing interest in efficient European composite aircraft has led many U.S. pilots to evaluate advanced touring motorgliders such as the Phoenix U-15 produced by JMB Aircraft. The aircraft’s attractive fuel efficiency, modern composite construction, and long-range capability have generated significant attention among pilots seeking economical personal transportation aircraft. However, concerns are emerging among prospective U.S. buyers regarding both certification pathway clarity and the handling of customer deposits when transactions do not proceed as anticipated. Several prospective purchasers report difficulty obtaining return of deposits after exercising contractual cancellation provisions tied to regulatory eligibility of the aircraft in the United States. Buyers indicate that deposit refunds were requested after questions arose regarding how the aircraft could be registered and supported within a stable U.S. airworthiness framework. While deposit structures are common in aircraft manufacturing, timely return of funds when contractual conditions are not met is an important component of maintaining trust between manufacturers and customers. Certification pathway questions affecting purchasing decisions Some prospective buyers report that representations were made indicating the Phoenix U-15 could potentially qualify for registration as an LSA glider within the U.S. regulatory framework. Buyers indicate that documentation supporting this pathway has been difficult to obtain, leaving uncertainty regarding how the aircraft would ultimately be operated and maintained within the FAA system. Certification pathway clarity can significantly affect ownership considerations, including: • insurability • resale value • operational flexibility • maintenance planning • flight training eligibility • long-term regulatory stability Uncertainty in these areas can influence purchasing decisions, particularly for aircraft intended for cross-country touring or long-term ownership. Continued airworthiness considerations For factory-built composite aircraft, continued operational safety programs play a key role in maintaining fleet-wide reliability. These programs typically include: • service bulletins and safety notifications • engineering communication regarding structural updates • configuration control and revision tracking • replacement parts availability • documentation of design modifications • defined responsibility for monitoring structural performance Prospective Phoenix U-15 purchasers report difficulty obtaining detailed documentation describing how continued operational safety responsibilities would be managed for U.S.-based aircraft. Correspondence shared among prospective buyers references ongoing structural refinements, including development of updated carbon fiber wing components intended to address aerodynamic flutter characteristics. While design improvements are a normal part of aircraft development, clear communication regarding configuration status is typically expected so that operators understand applicable operating limitations. Increased importance of transparency under MOSAIC The FAA’s MOSAIC initiative is expected to broaden the range of aircraft eligible for simplified certification pathways, potentially increasing the number of imported aircraft entering the U.S. market. As this occurs, the distinction between certification eligibility and continued operational safety infrastructure becomes increasingly important. Buyers may assume that factory-built aircraft marketed internationally will be supported by clearly defined engineering communication frameworks similar to those typically associated with ASTM-based Special Light Sport Aircraft (S-LSA). However, certification category alone does not guarantee the presence of an active continued airworthiness support structure. Due diligence considerations for prospective buyers Prospective purchasers evaluating the Phoenix U-15 may wish to obtain written clarification regarding: certification pathway for operation in the United States existence of a continued operational safety program process for communicating structural updates or configuration revisions availability of revision-controlled technical documentation long-term availability of replacement parts U.S.-based technical support contacts refund provisions tied to certification eligibility Buyers report that requests for clarification in several of these areas have not yet resulted in publicly available documentation sufficient to resolve uncertainty regarding long-term operational support. Some purchasers have also indicated that deposits requested during the ordering process have not been returned after contractual cancellation tied to certification considerations. Thus any potential buyers of the Phoenix U15 should be extremely cautious in dealing with the JMtB Aircraft company, and perhaps look for other alternatives like the Pipistrel Sinus. The Pipistrel company is likely to hold its value as it is owned by Textron. A broader industry consideration Imported composite aircraft represent an important source of innovation within general aviation. At the same time, transparency regarding certification pathway, continued airworthiness support, and customer financial protections remains an essential component of maintaining confidence in the marketplace. As the U.S. general aviation community continues to evolve under MOSAIC and related regulatory developments, clarity regarding manufacturer support infrastructure will help ensure that innovation is matched by long-term operational confidence. For prospective buyers, careful evaluation of both technical support framework and contractual protections may be as important as performance specifications when selecting an aircraft platform.
-
 narin joined the community
 -
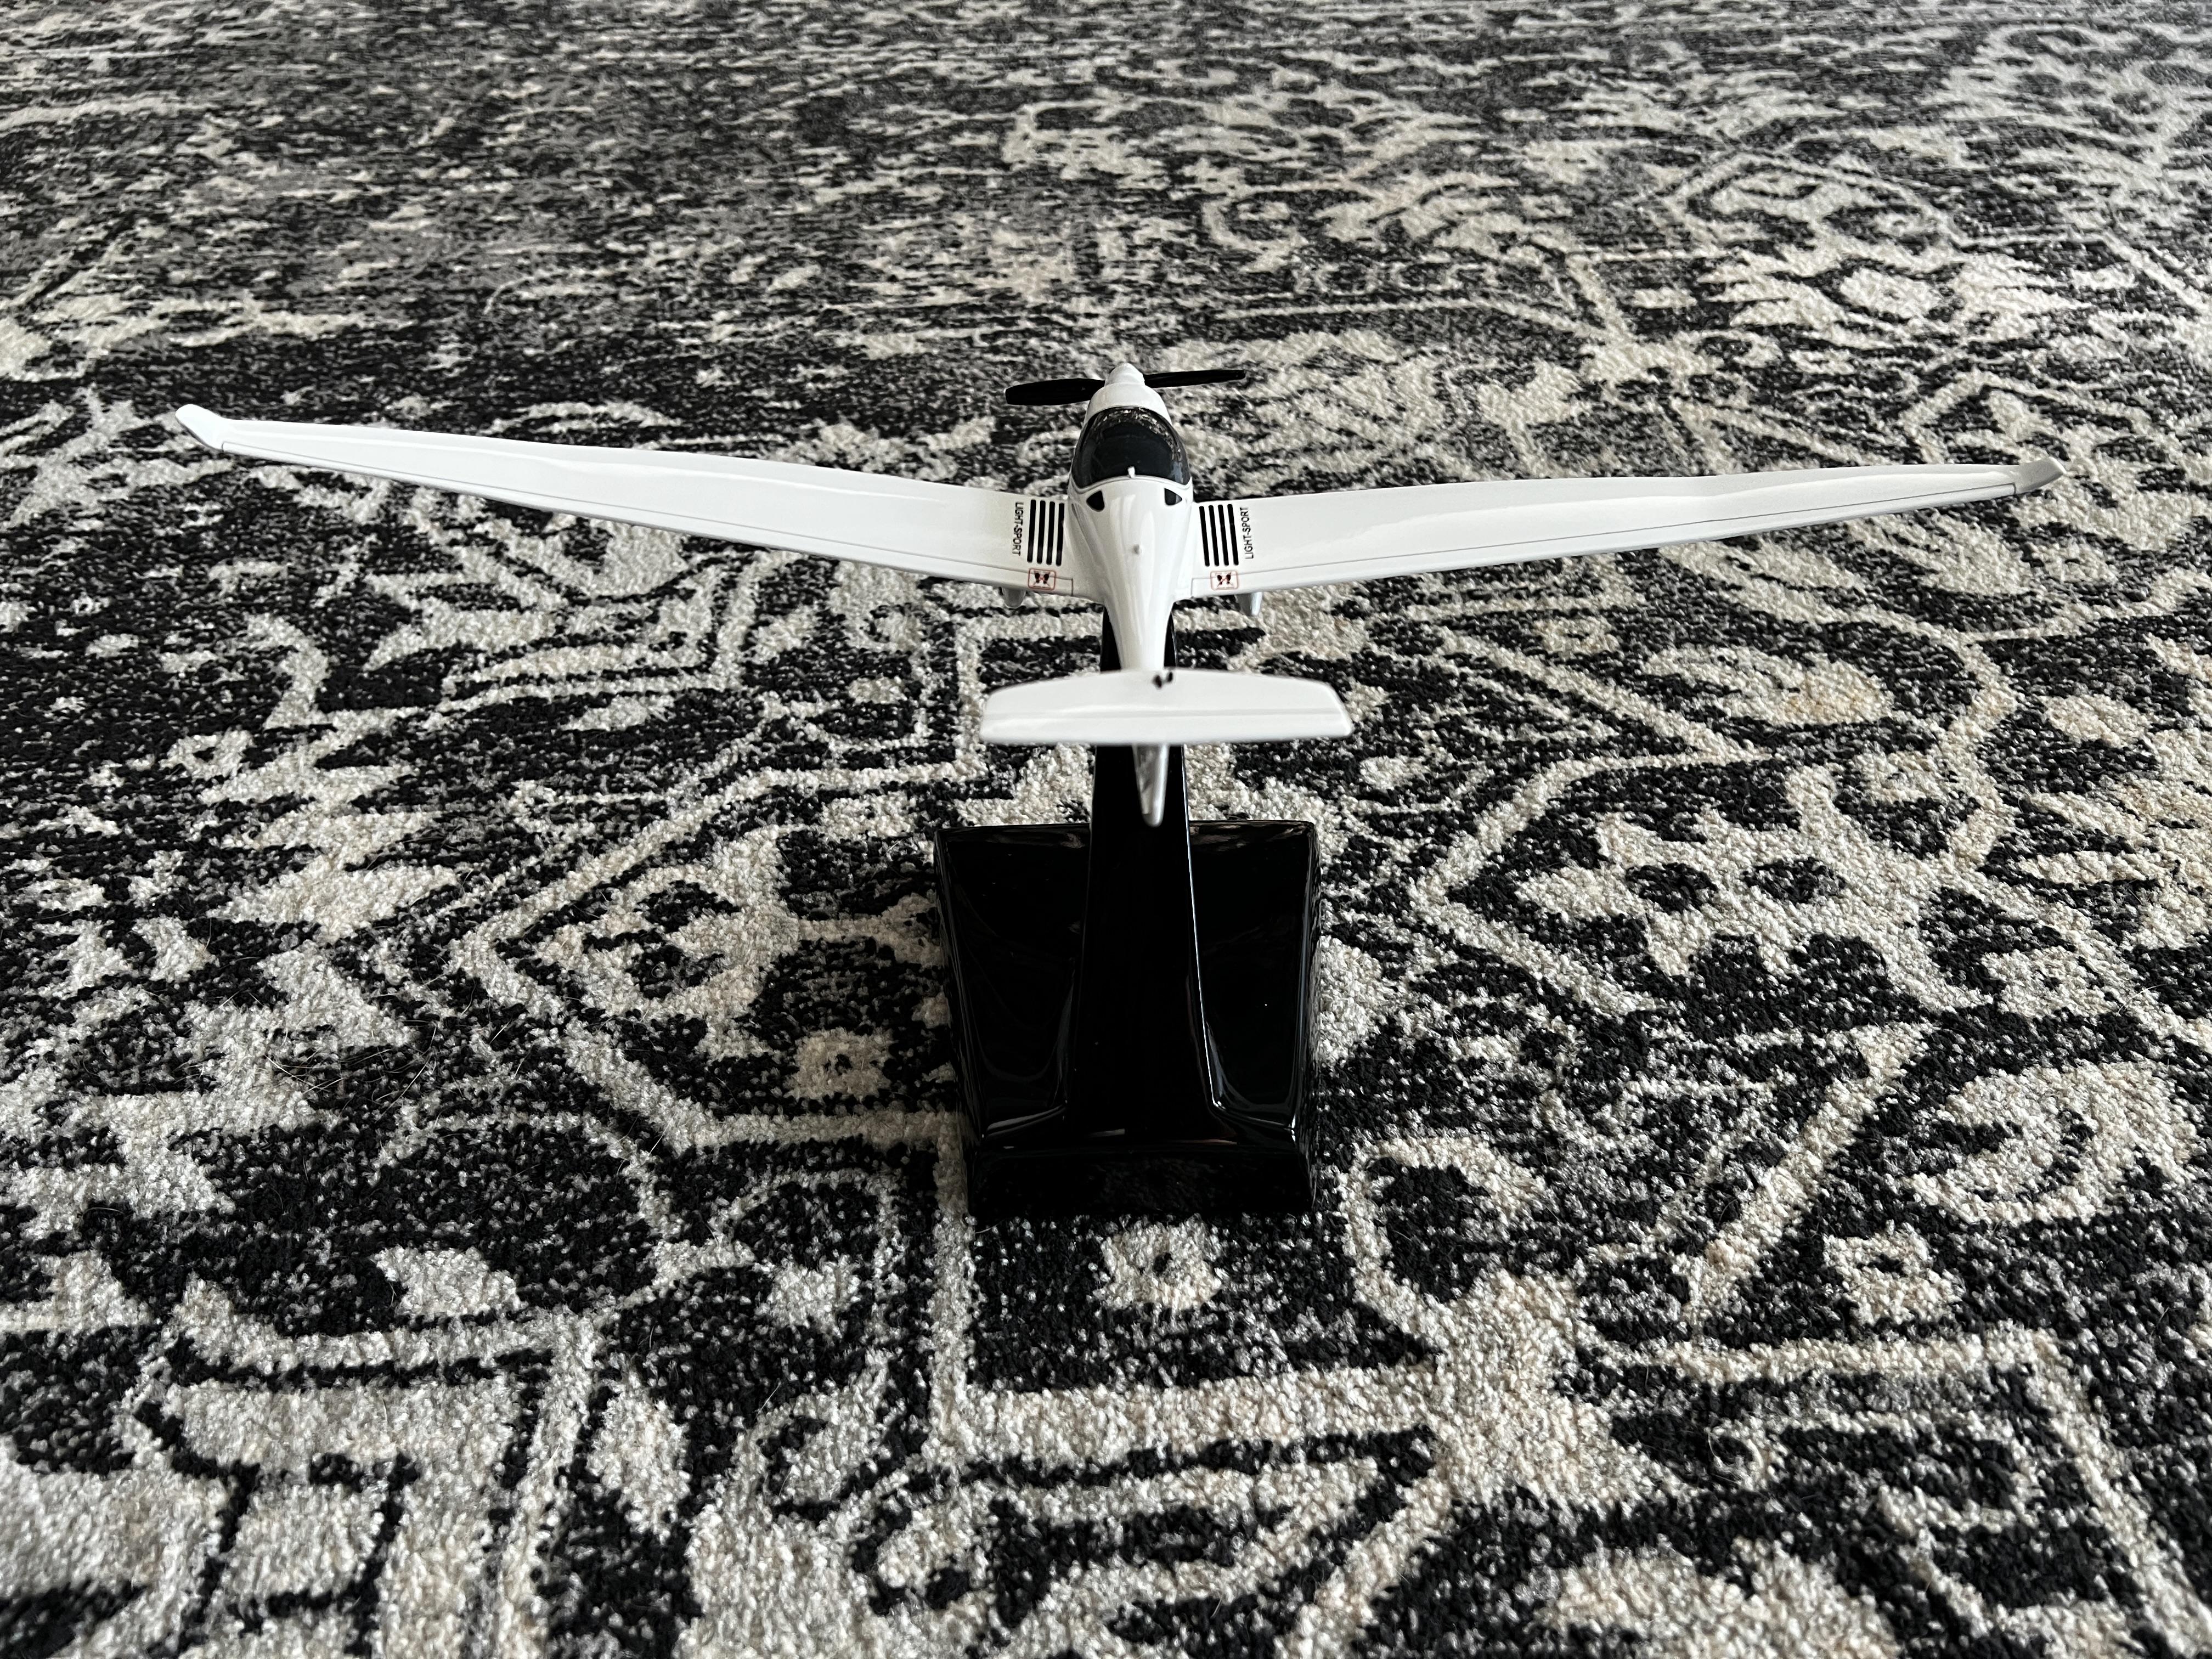
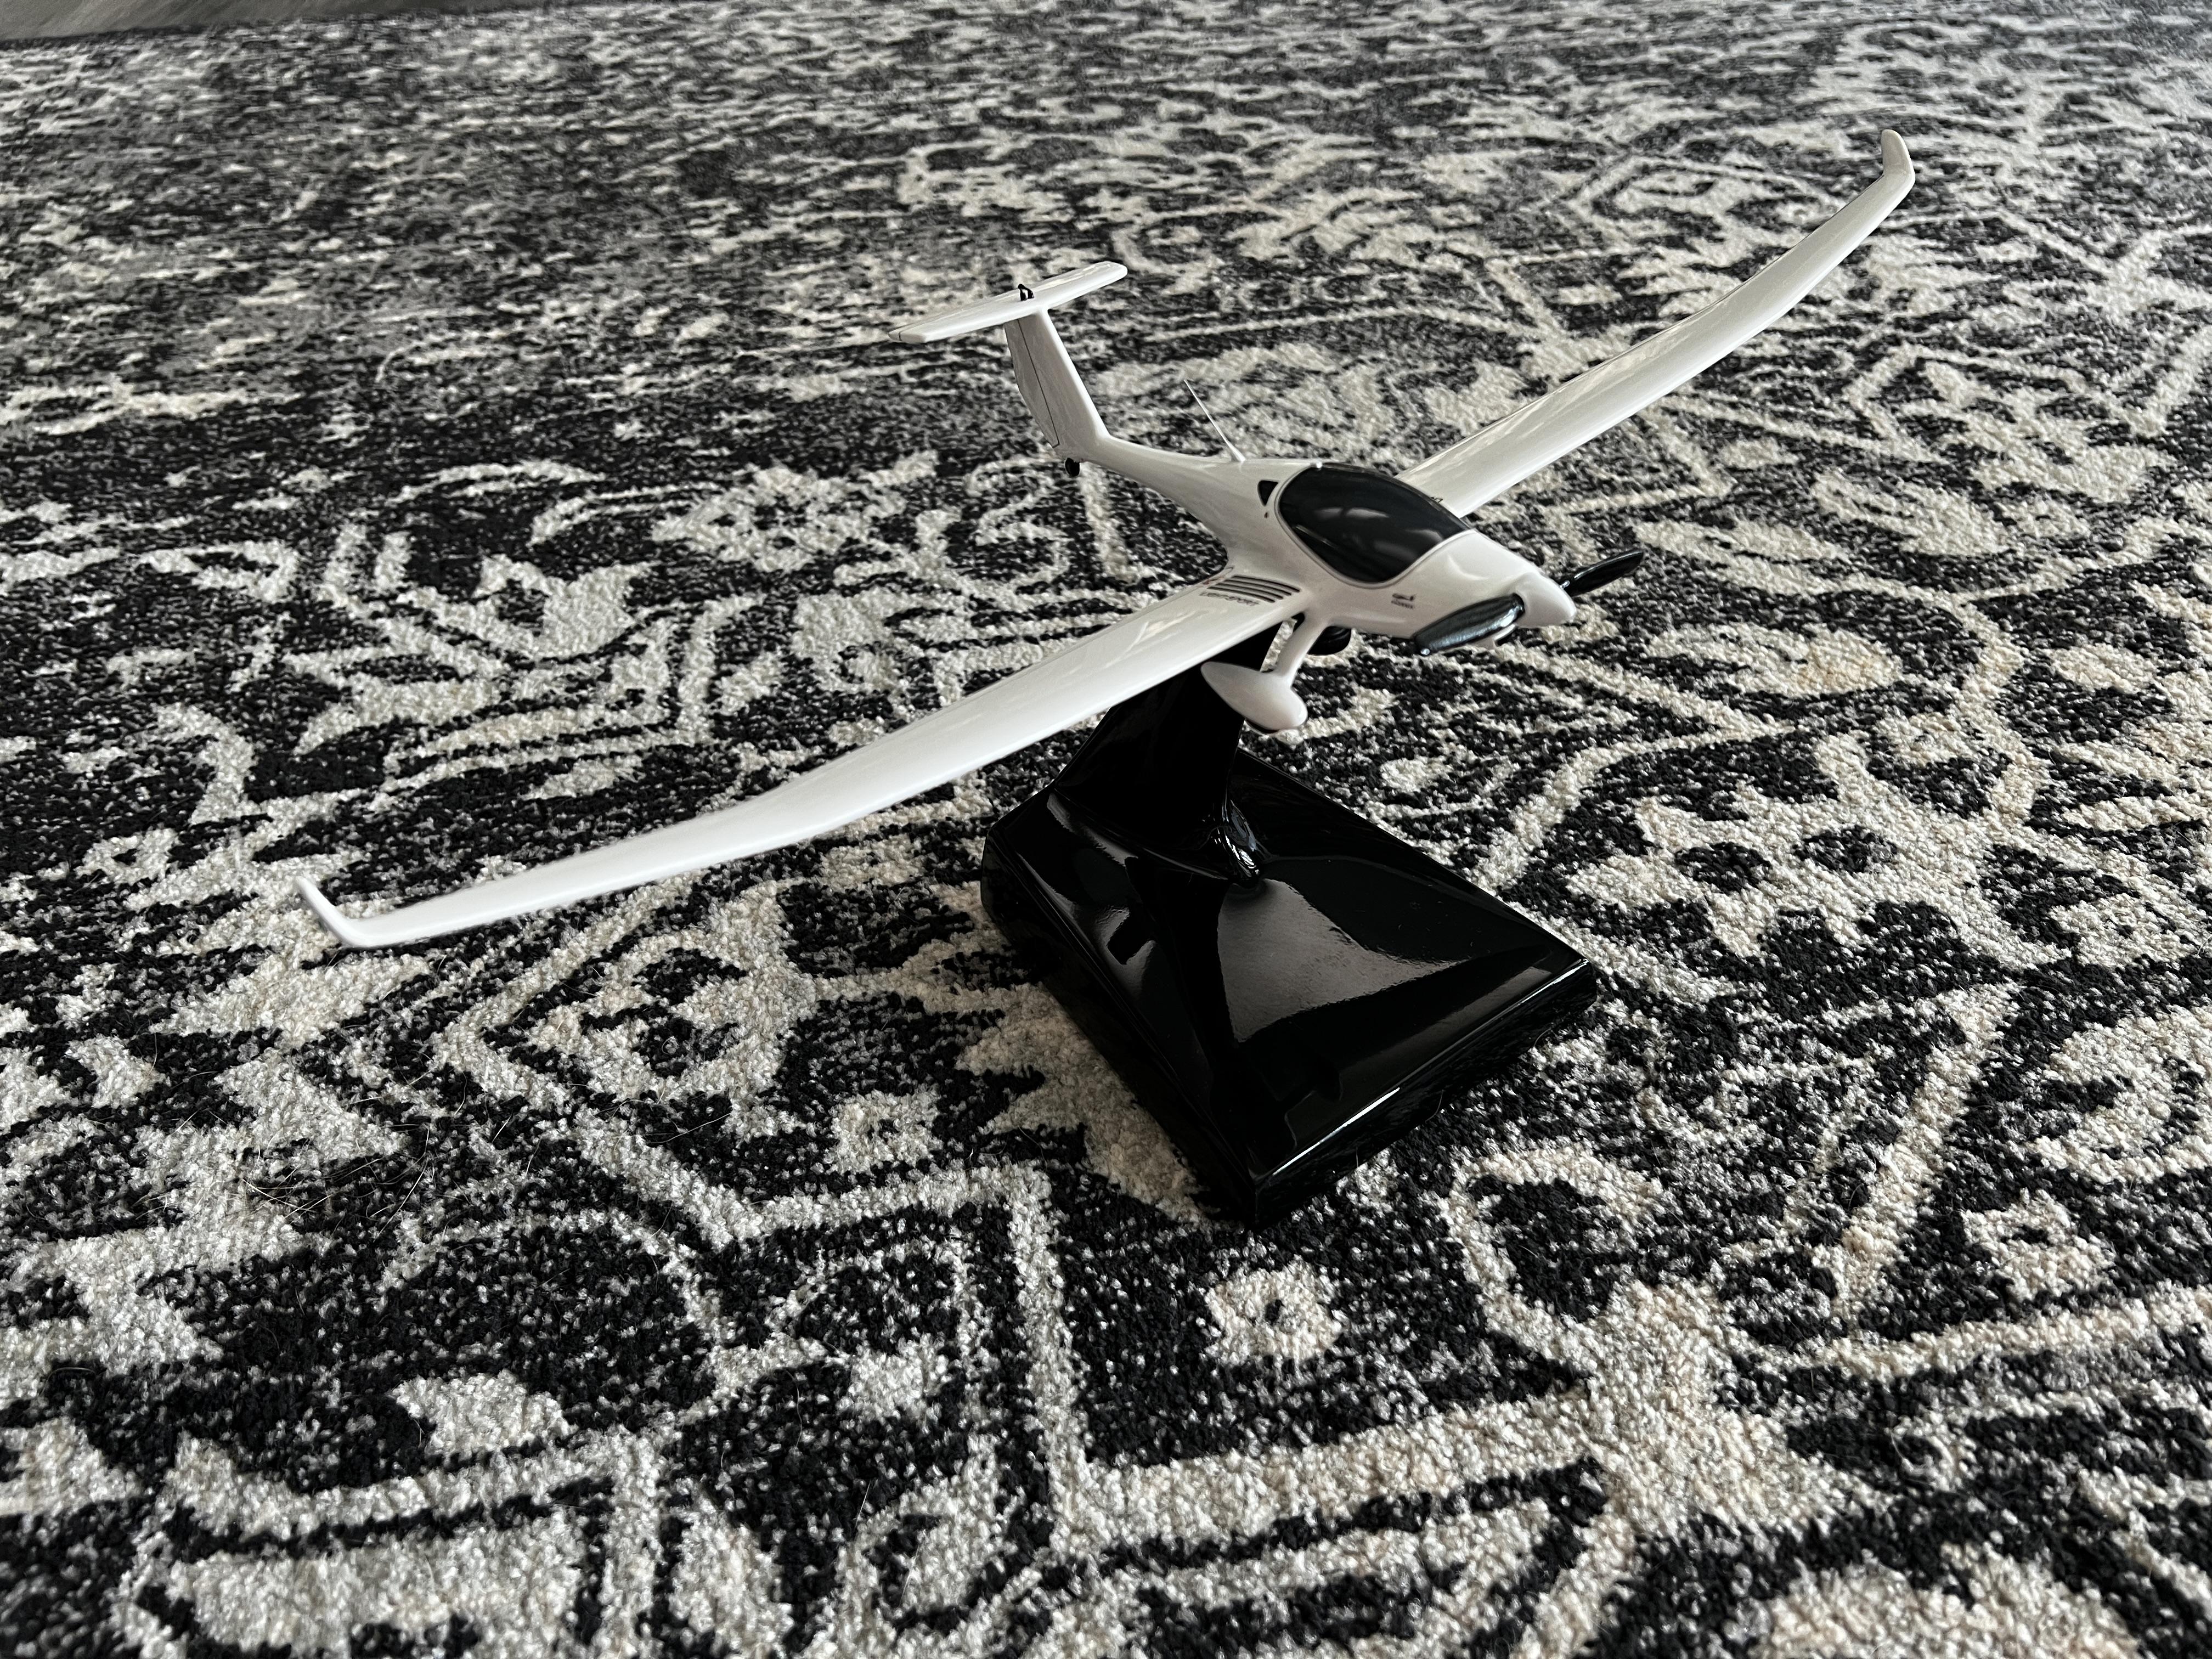
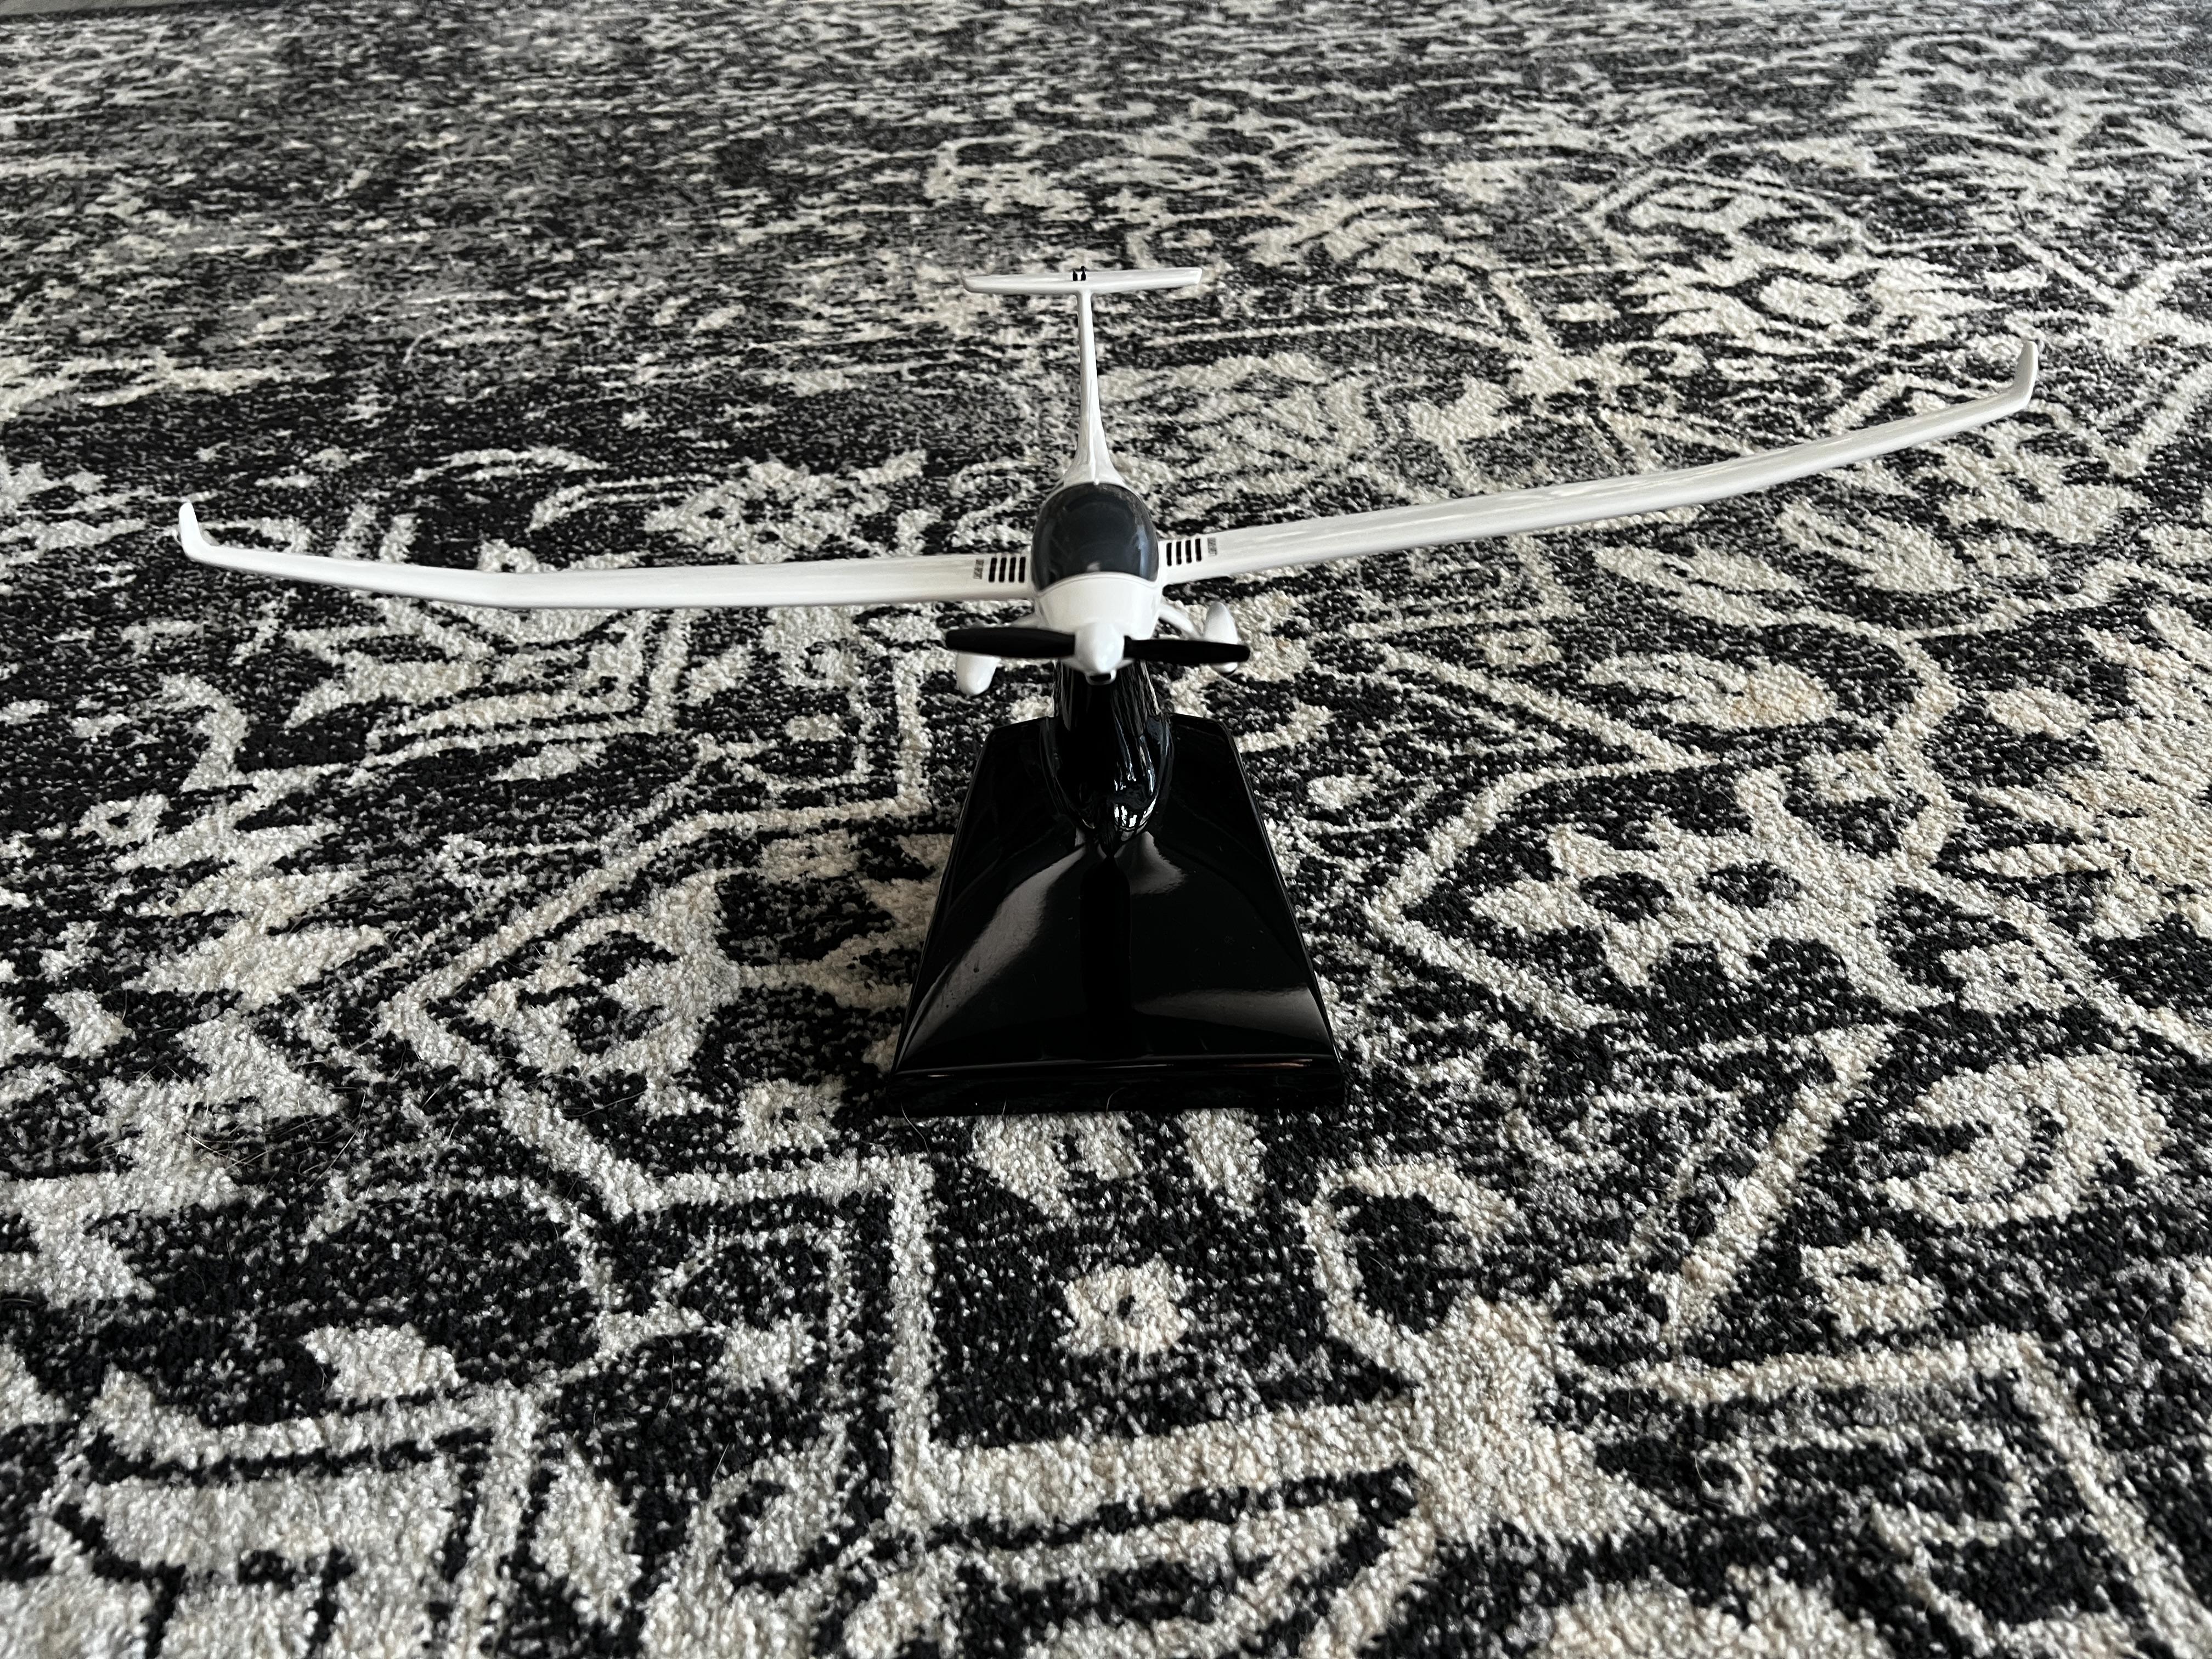
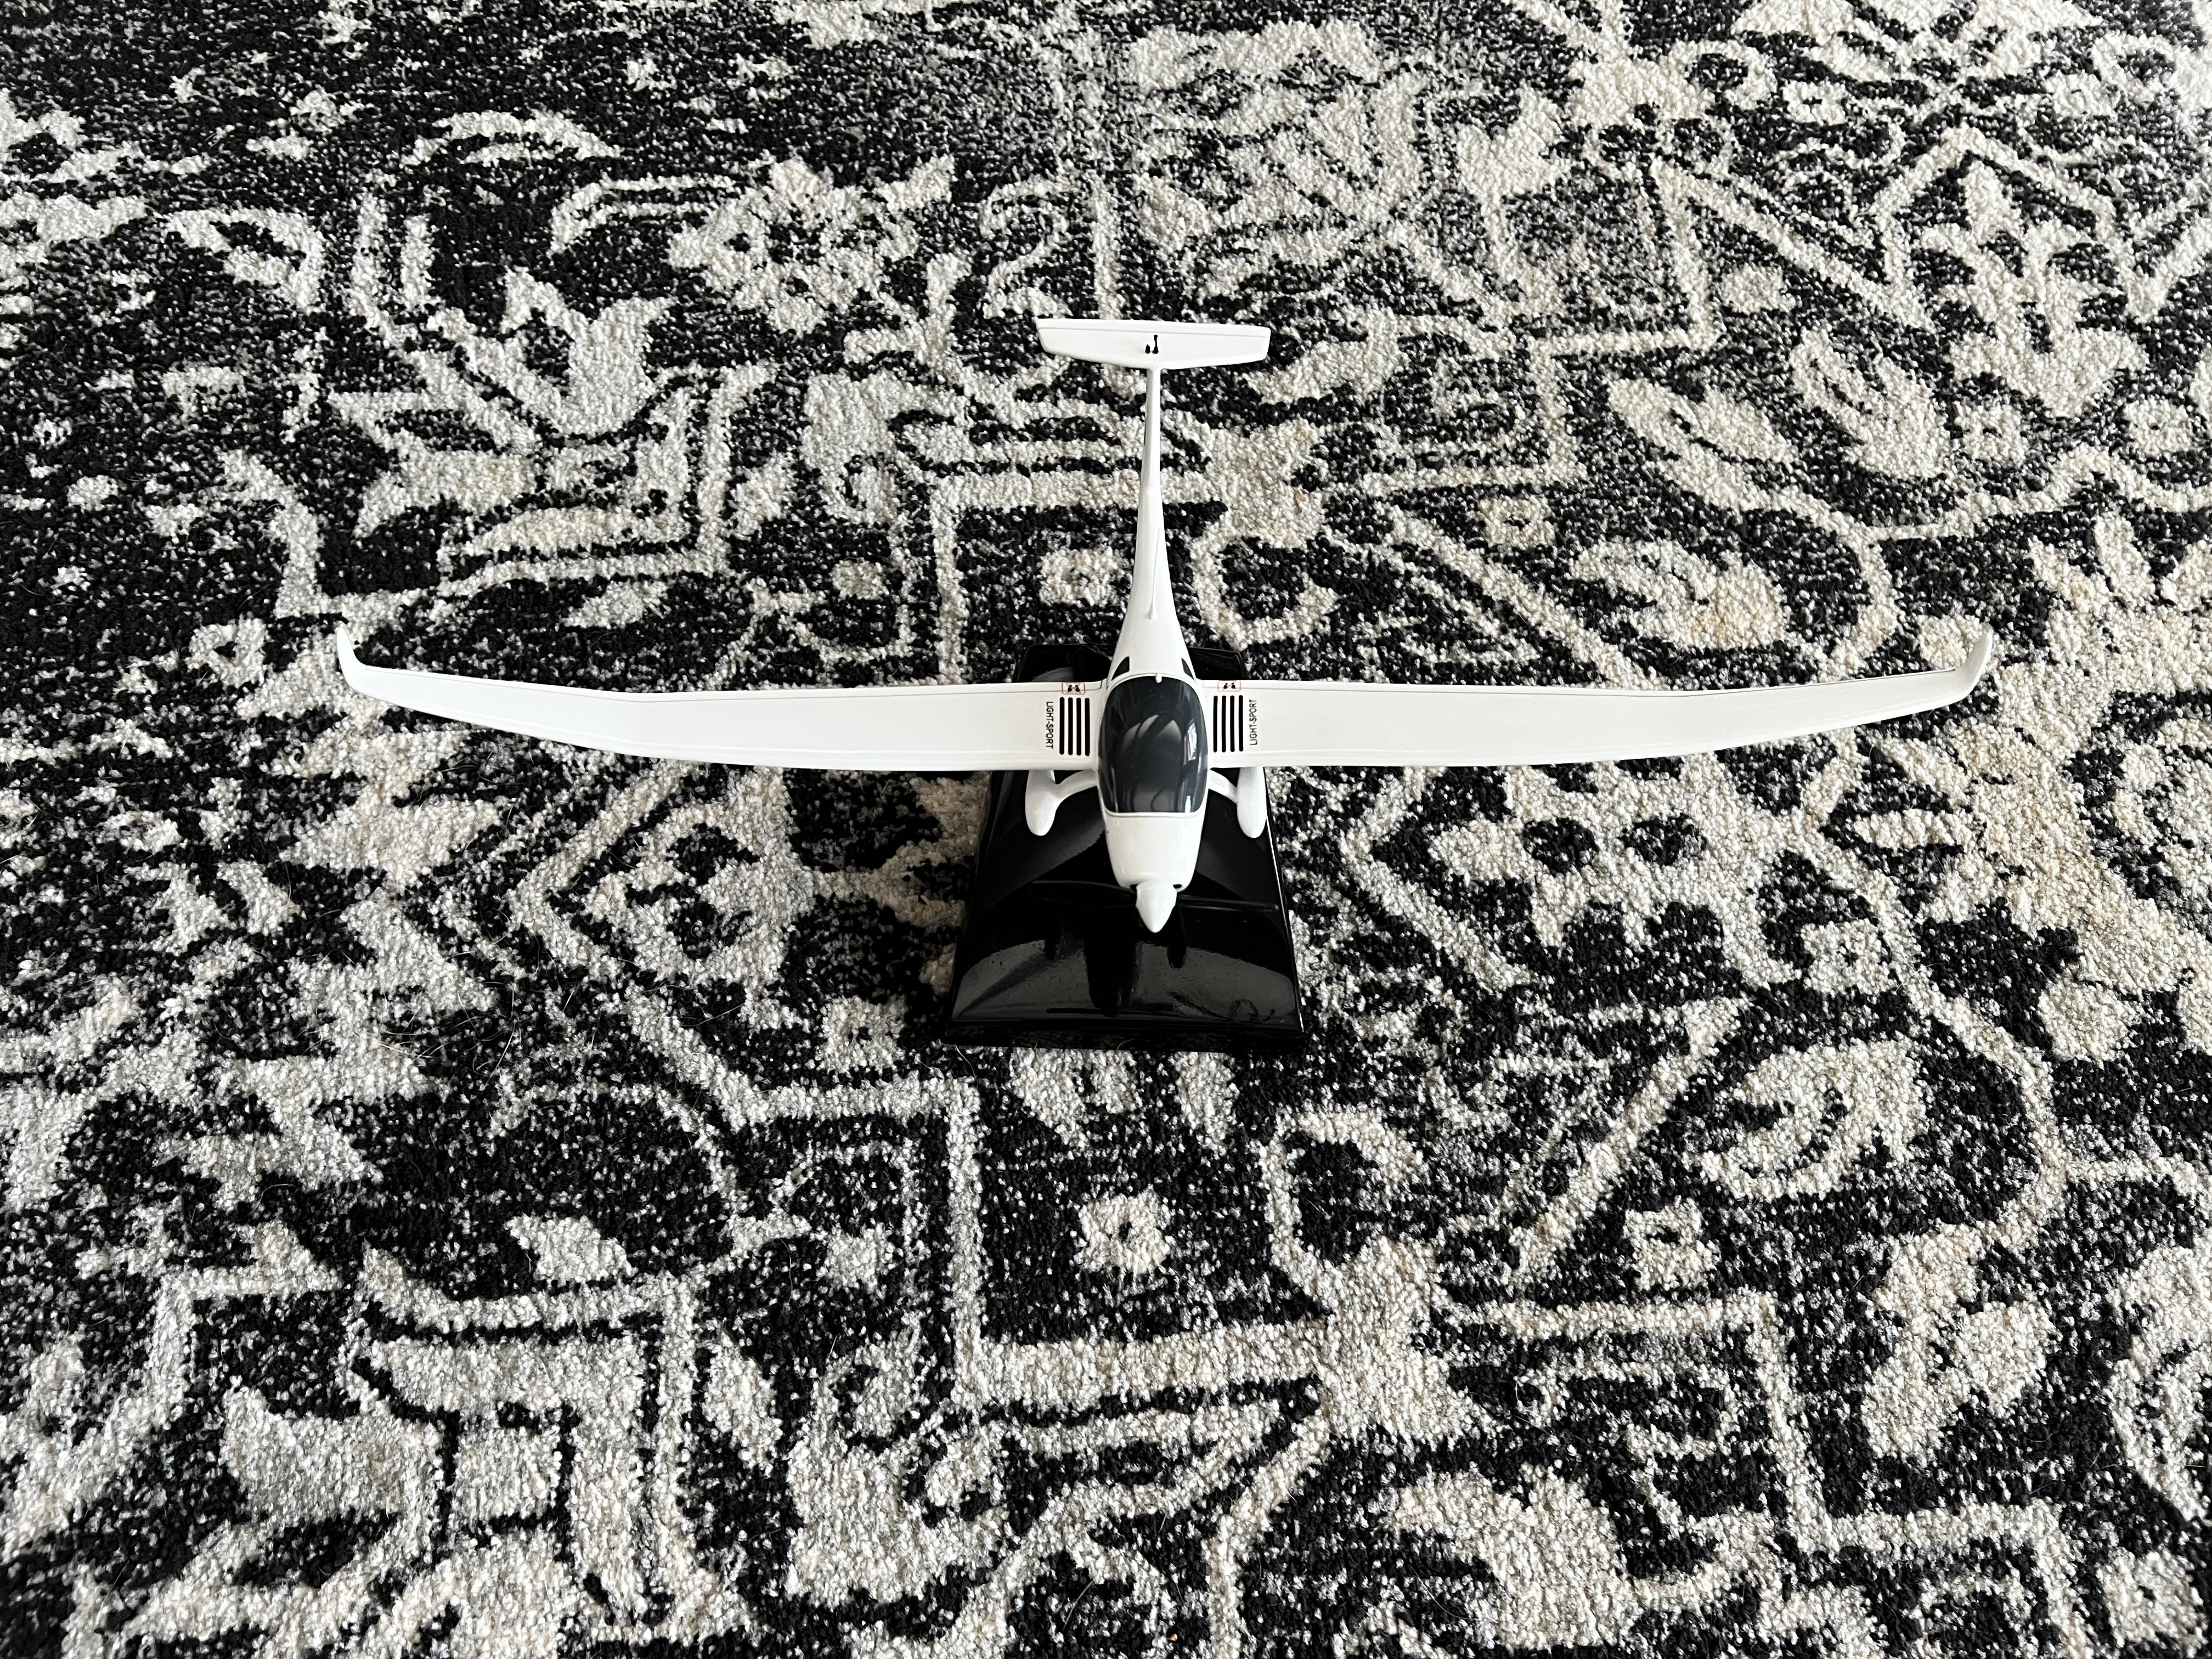
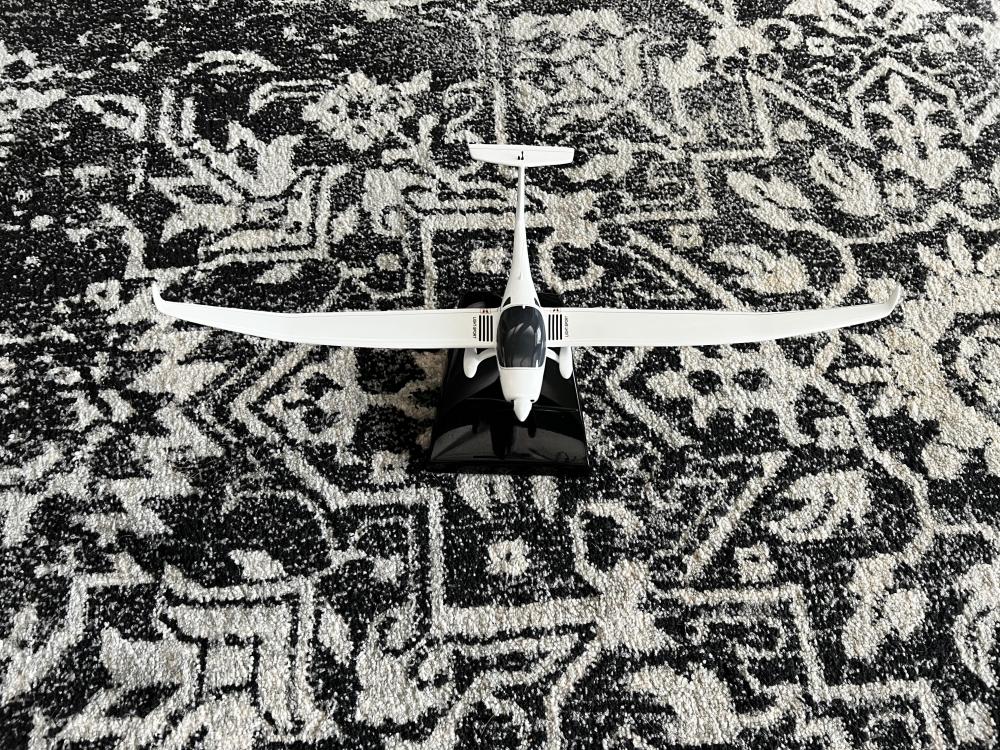
Not sure there is a place in the classifieds for this. Its a 1:21 scale of the 2013 Phoenix handmade mahogany. I have $550 into it. Looking for best offer.

-
 Dave Soar75 joined the community
 -
A question for Martin about Phoenix aerodynamics
Dave Soar75 replied to edwalker's topic in Phoenix S-LSA Motorglider
I agree with this technique. I find myself doing it even in the Gulfstream I fly. Seems to be less chaotic throughout the flare and touch down. -

What's the current status of JMB and the Phoenix??
Alex Ress replied to AlanKoz's topic in Phoenix S-LSA Motorglider
I read the demand letter. Alan, I would be interested in further discussion if you can write me at alexress99@yahoo.com -

Buyer beware —- JMB aircraft company and Phoenix
AlanKoz replied to AlanKoz's topic in Phoenix S-LSA Motorglider
Look at a copy of the demand letter my lawyer sent. I posted this on March 26 to the TMG site. -

Buyer beware —- JMB aircraft company and Phoenix
mikeschumann replied to AlanKoz's topic in Phoenix S-LSA Motorglider
How about some details? -
Buyer beware —- JMB aircraft company and Phoenix
AlanKoz posted a topic in Phoenix S-LSA Motorglider
A number of us who have put money down on a new Phoenix are rather frustrated with JMB aircraft. I think that the words written by another concerned customer nicely summarize the situation. Buyer Beware! JMB business practices are not ethical. Depositors do not get the aircraft as ordered or a refund, regardless of the reason for cancellation of an order. -
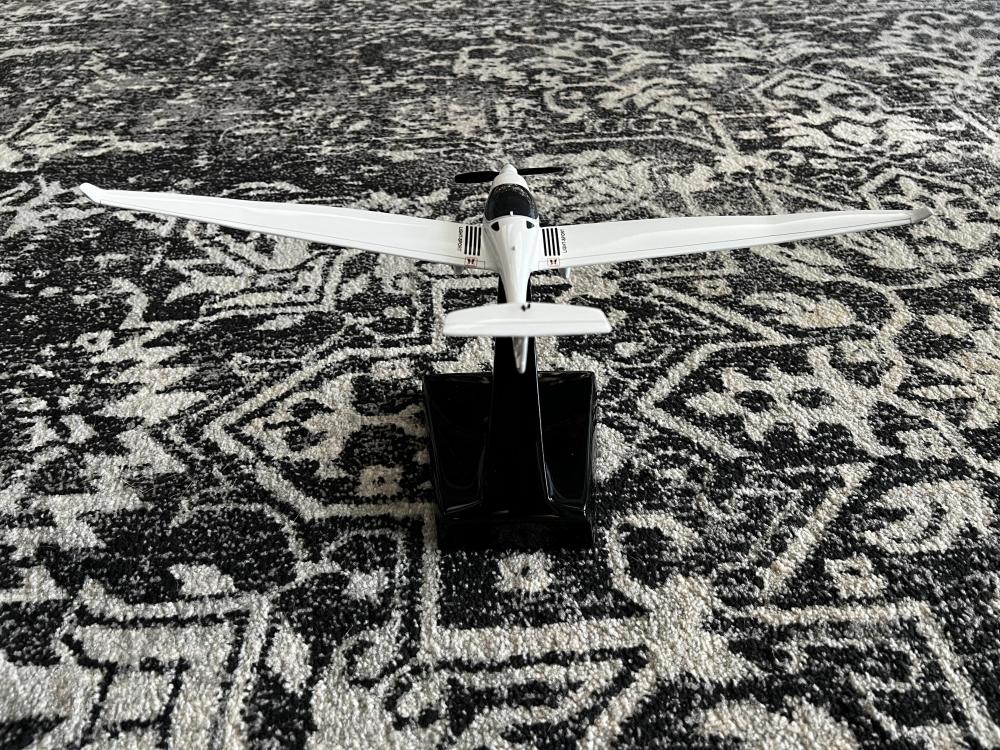
2013 Phoenix U-15 $159,000 OBO Turn-key, well equipped, very good condition. Hangared at KMTV Blue Ridge Airport, Martinsville, Virginia. ENGINE & AIRFRAME SPECS Engine - Rotax 912ULS, Horsepower - 100 hp, Total Time - 879 hrs, Cruise Speed - 115 kts Fuel Burn - 4.5/5.0 gph, Fuel Capacity - 26 gal, Range - 900 mi, Ceiling - 20k+ ft Climb Rate - 1000+ fpm Glide Ratio - 30:1 Gross/Empty Weight - 1320/750 lbs AVIONICS & EQUIPMENT Dynon SkyView 7", Autopilot, BRS Parachute, Mountain High O₂, Cabin Heat Tow Hook, Feathering Prop, ClearNav System, CAI Variometer, ADS-B In/Out ENGINE & AIRFRAME CONDITION Very good original condition inside and out, New brake rotors and pads, Engine runs strong, No oil leaks, New landing leg, Prop strike free MAINTENANCE & CARE Always hangared and covered, Full lightweight covers, Annual inspection completed April 2026, Logbooks available
-
 Lee hackbarth joined the community
 -
Good Morning All, I am searching for a hub assembly for the Main gear of my U15/33. The inner half of the assembly has a crack and I would like to replace both pieces of the assembly Does anyone out there have a spare they would like to sell. I would even be able to utilize just the inner half of the hub if anyone has a spare to sell. Looks like mine had a corrosion failure and cracked on disassembly (see photo)Inner Wheel Hub-Phoenix U15:33.pdf John Richmond U15/33 jbr8556@aol.com
-
 Green Aviation Hub joined the community
 -
Hello everyone, Green Aviation Hub, together with PIPISTREL Aircraft, is organizing the Pipistrel Fly-In Germany 2026 and would be very happy to welcome Pipistrel owners, pilots and enthusiasts from Germany and across Europe. The event is planned as a relaxed, informal get-together for the Pipistrel community — with plenty of time to meet other owners, exchange experiences, talk about current Pipistrel aircraft and developments, and enjoy a day at a beautiful airfield atmosphere. Event details Date: Saturday, 29 August 2026 Time: 10:00–20:00 Location: Moselflugplatz Mont Royal / Traben-Trarbach, Germany ICAO: EDRM Participation: Free of charge What to expect: informal get-together with other Pipistrel owners and pilots exchange with aviation professionals and the Pipistrel community information about current Pipistrel aircraft and services display / demonstration of Pipistrel EXPLORER and Velis Electro simple BBQ at the airfield camping at the airfield possible with prior registration For arriving crews, the landing fee will be waived if registered in advance. Therefore, anyone planning to fly in should register beforehand. Registration and further information are available here (German language only): https://greenaviationhub.com/event/pipistrel-fly-in-deutschland/ All Pipistrel aircraft types and crews are welcome — whether you fly a Virus, Sinus, Taurus, Explorer, Velis Electro, Panthera or another Pipistrel model. We hope this will become a friendly meeting point for the growing Pipistrel community in Germany and beyond. Looking forward to seeing many of you at EDRM! Best regards, Green Aviation Hub UG
-
 Erik G. joined the community
 -
 Fr3dcat joined the community
 -
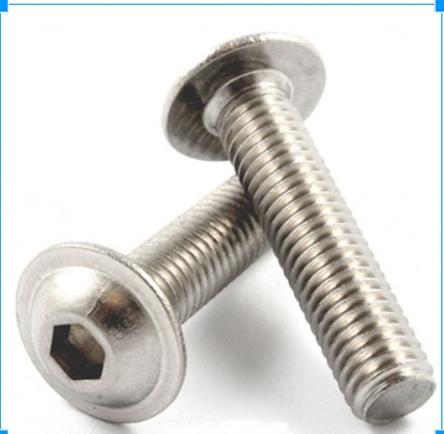
The Wings and Wheels screws are not the same. They are flat head screws. The screws used on the Phoenix look like this:
-
Thanks Mike. Mecaplex screws are also available at Wings and Wheels. Do these look the same? https://wingsandwheels.com/mecaplex-flathead-stainless-steel-screws.html
-
A couple of the screws holding the window assembly to my Phoenix canopy came off. It turns out that all of the screws on my canopy were loose. You should check your aircraft before you have the same problem. For the record, the screws are M3 x 10mm stainless steel with button head flanges. Each screw also has an M3 x .5mm nylon washer. These screws and washers are available from accu-components.com/us.
-

What's the current status of JMB and the Phoenix??
Don replied to AlanKoz's topic in Phoenix S-LSA Motorglider
JMB was at the Aero Expo 2026 Friedrichshafen show. Here is a video. JMB is at 18:37 -
Do any of you Phoenix owners (past or present) have a set of brake pads you want to sell? I can get them from JMB but they are a bit expensive with shipping from Europe. I checked with Ed B. and he doesn't have any. I thought it would be good to have a pair on hand when the time comes to change them. Don
-
Continued Airworthiness with JMB Aircraft
Alex Ress replied to Ed Babovec's topic in Phoenix S-LSA Motorglider
Mr Ed Babovek, Can you conform Paul Oxenham's statement above that, "having taken over the production of the Phoenix U15, we will not look after the airworthiness of the current fleet." is still the stance of JMB regarding U-15 serial numbers 01-67? I hope I can recommend JMB aircraft knowing that they support the airworthiness of the entire U-15 fleet. I want to be your biggest advocate. To those who might be curious why this important, I'll chime in after Ed responds. -
 Gipsy joined the community
 -
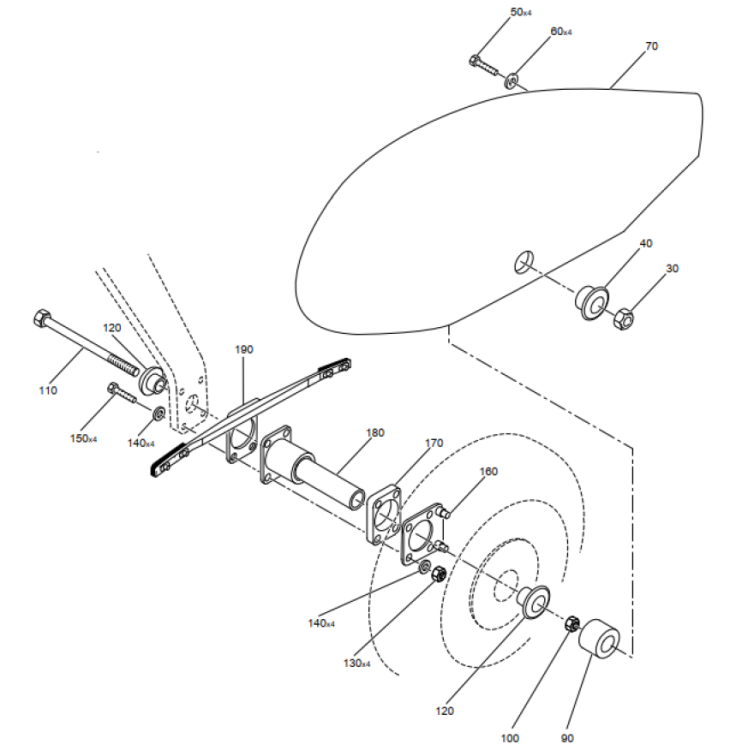
Hi I a trying to source a wheel fairing support bracket for my right wheel on a Grob109B. It has broken off and has been lost. Does anyone know where I can find a replacement ? it is part number 190 in the illustration below Regards Gareth Carr gjcarr@gmail.com
-

Trip Report: SF-25 to Nördlingen (Lunch Run in Bavaria)
FinalApproachtoFlavor posted a topic in Hangar Flying
Guten Tag everyone, First post here, so a quick introduction: I'm River, an American living in Southern Germany, flying a Scheibe Falke SF-25. My friend Gus and I run a small YouTube channel called Final Approach to Flavor—the name basically sums up our mission statement: find interesting places to fly, then find something good to eat when we get there. We recently took the Falke up to Nördlingen, which is one of those places that looks like a postcard from the air (the town is built inside a giant meteor crater—makes for a stunning overhead join). We put together a short video of the flight and the lunch stop. It's 4K, so hopefully you can see the landscape clearly. There's also a shot of a pretty fantastic Schnitzel in there, if that's your thing. Link: The Ask: The video picked up about 50 views in the first few hours, which is great for a small channel, but we're really curious what the TMGA crowd thinks of the flying content specifically. Any tips on how to better capture the cockpit view without the camera mount taking up half the screen? With the the body being fabric, it really restricts mounting any external camera. What have you all found for mounting cameras facing outward? We're not trying to be influencers; we're just two guys with a camera who really like flying low and slow in Germany and want to share it with people who get it. Thanks for having us, and we hope to see some of you at a fly-in this summer. Viele Grüße, River Final Approach to Flavor -
Are still open? I'd come and fly a few hours. I am working on my plane PPL but Virus if awesome glider. And I'd like get a glider rating as well.
-
What's the current status of JMB and the Phoenix??
AlanKoz replied to AlanKoz's topic in Phoenix S-LSA Motorglider
And some information can be found here -- Truncated copy of demand letter sent to JMB. Buyer beware! 2026.02.24 JBM Aircraft LLC truncated demand letter.pdf -
What's the current status of JMB and the Phoenix??
AlanKoz posted a topic in Phoenix S-LSA Motorglider
Subject: Phoenix U15 (NG) – updated wing/rudder design and owner experiences with JMB? Hello everyone, I am reaching out to the Touring Motorglider community to better understand the current status of the Phoenix U15 (NG), particularly regarding any recent design updates. I have heard references to new carbon wing structures and possible refinements intended to address earlier discussions about rudder flutter and wing flutter margins at higher speeds. If anyone has recent delivery experience, engineering information, or flight test feedback on the updated configuration, I would be very interested to learn more. In particular: Has anyone taken delivery of a recent Phoenix U15 NG with the revised wings or tail surfaces? Have any formal flutter analyses or flight test results been shared with customers? Have operating limitations (e.g., Vne) changed with the updated configuration? Has anyone had recent experience working with JMB Aircraft regarding timelines, communication, or technical documentation? I continue to believe the Phoenix concept is very appealing as a high-performance touring motorglider, and I hope the recent engineering work has strengthened the overall safety and long-term support framework for owners. Any information or perspectives would be greatly appreciated, either posted publicly or via private message. Thank you very much in advance. -
Phoenix U15, S/N 49, 525kg - FJDLX, First hand, 07/2018, piloted only by myself Motor Rotax 912 80PS, 800h All services at Rotax Dealer Check at JBM 12/2025, new batterie, new cabins struts, new fuel pump Parachute revision 12/2025 Propeller Woodcomp Revision 01/2026 Always stored in hangar Options Cockpit heating, electr. fuel Pump Breaks pilote / co-pilote Leather interior 2 x David Clark DC One-X Instrumentation: Analog Altimeter & Airspeed LXNAV S80 mit ADAHRS, FLARM, AVMap EKPV mit ADAHRS ADS-B out, KRT 2 (8,33) KTX (S-Mod), EMS Vigilus, taxi camera, gooseneck microphone Landing lights Cover short wings, cabin and elevator Spare parts: Pitot, tail wheel fork Conditions: Cockpit 10/10, Fuselage & Wings 9/10
-
Thanks! And that's great, I'll make sure to keep you in mind if I'm ever in Hawaii!
-
I would go with Jim Lee if he is available. His email is leejim17@yahoo.com However, I have a Phoenix and am a CFIG here in Honolulu and I like to fly.